A Space Themed Birthday Celebration for Our Favorite FOUR-Year-Old

Everett’s birthday revolved around a balloon garland, funfetti birthday cake, rocket ship cookies & meteor cake balls
We knew going into this birthday, it was going to be different. With a pandemic in full swing and moving away from our son’s friends, this party was never going to be the “perfect” celebration I’d want to give my son. We were fortunate to have a small handful of family join us to celebrate Everett, and for that I’m extremely thankful, but not to have a house full of children playing, laughing, screaming, and fully embracing their sugar high – that was a bummer that I fully felt. Acknowledging all of that, made me feel like I had to put in extra effort to make sure that Everett was still fully celebrated, and made to feel incredibly special.

Feeling PRETTY darn proud
We decided on a theme – it wasn’t difficult to come up with. My son is 100% nerding out on space lately. He’ll talk your ear off about starts, and mars, and rocket ships, and solar systems, and all the other super cool intergalactic topics. With that, I knew I could put together something fun that would light him up.
Décor involved a 90-piece balloon arch; mylar astronauts, rocket ships and stars; and a holographic “happy birthday” sign.
Treats were all homemade, from scratch. We’re talking sugar cookies decorated with royal icing, a three-layer funfetti cake complete with fondant rocket ship and stars, & meteor cake balls.

Everett giddy with excitement at the sight of his birthday decorations (pre sugar high)
Did I spend hours blowing up balloons, creating an arch, and hanging it from the ceiling? You better believe I did. Did I spend days in the kitchen scouring the best recipes, organizing my ingredients, mixing batter, making icing, creating custom colored fondant? Oh yes, multiple days were spent perfecting the party treats. Was it all worth it to ensure that my son felt fully loved, cared for, and celebrated? Hell yes.
Let’s break the décor and treats down:

View garland kit here
*The balloon arch* I bought a kit off Amazon for less than $15 – seriously. It included all the balloons for the arch, a plastic strip with holes in it that forms the arch, the “happy birthday” sign, four large mylar balloons, and seven small mylar balloon. The only way this type of kit is worth the buy, is if you also buy an electric balloon inflator. Otherwise, you will be spending HOURS blowing up nearly 100 balloons. Even if you do have an inflator, prepare for your fingers to be rubbed raw from tying low quality balloons that don’t have a lot of stretch. Another thing to note, is that there are no included instructions. I really didn’t know how the arch was going to come together, until I just started stringing balloons through the plastic strip. If you do purchase this kit, know that you have to just figure it out. It wasn’t difficult
(you literally just put the balloon ties through the holes), but it was kind of frustrating to work my way through setting up the arch without the security of knowing what I was doing. Still, it was completely worth the buy (for me). Rating: 4/5 – knocked off a point due to the lack of instructions and the fact that some of the balloons were supposed to be turned into planets with “rings”. The rings were supposed to be created by long, skinny, white balloons, but they wouldn’t inflate.

View the cake recipe here
*Funfetti birthday cake* I used a recipe created by the Butternut Bakery Blog. This cake was incredibly delicious. Super moist, flavorful, not overly sweet. Also, the directions were extremely clear. For someone who would never consider themselves a baker, this recipe was very easy to understand and follow. I will admit that I totally screwed up the cake the first time around. I didn’t grease the pans well enough, so the cakes stuck to the pan and broke in half. I did nail it the second time around though. I used this blog for both the cake and the frosting and they were both so on point. I’m not a frosting person (I usually eat around it), but I didn’t feel like this frosting was overly sweet or artificial tasting. I would note that the cake is so moist that it was a bit difficult to frost. If that’s a concern for you, you may want to choose a different recipe. Other than that – this is a great recipe that we will for sure be using again! Rating: 5/5

View the fondant recipe here
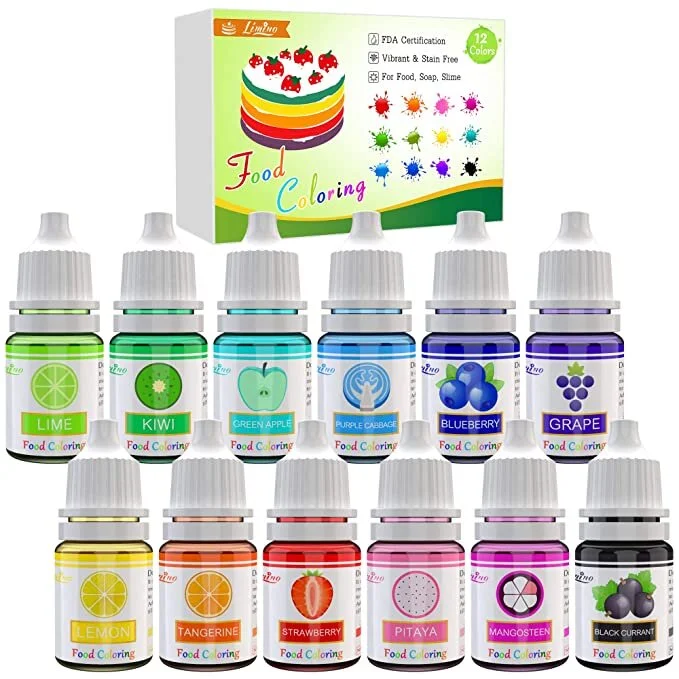
*Fondant* Found this recipe via the Taste Better From Stratch blog. A super easy recipe, but also super messy. If you don’t like to get your hands dirty, this recipe may not be for you. Once I got the fondant to set, I was able to easily add dye to color my fondant. While this was not difficult to do, I highly encourage you to take her recommendation of wearing gloves when adding color – it’s days later and my fingers are still blue. Rating: 4/5

View the cookie recipe here
*Sugar cookies* This cream cheese sugar cookie recipe from the Shugary Sweets Blog is so damn good. Light, chewy, lemony – omg, so delicious. If you’ve ever had Vera’s lemon cookies from Maggiano’s, these taste VERY similar (slightly less sweet though). I did switch out the almond extract for vanilla extract due to family nut allergies, and honestly, I can’t imagine these cookies being any better, so I definitely recommend that swap. Rating: 5/5

View the icing recipe here
*Royal icing* This icing recipe was originally published in the book ‘The Art of the Cookie: Baking Up Inspiration by the Dozen” by Shelly Kaldunski, but I was introduced to it via thebigfatIndianwedding.com. The recipe was easy to execute, but a bit time consuming. I used food coloring to get the pigments I was looking for. Rating: 4/5

*Cake balls* These were not originally on the menu. In fact, the only reason I made cake balls was because I broke the cake when trying to remove it from the pan. Since I had the extra sponge, I figured I could use it for another treat. Luckily, I was able to tweak their appearance to be space-themed meteors. I did not use a recipe for this. I combined the crumbled cake with some frosting, formed balls, placed them on a cookie sheet, let them set in the freezer for an hour, covered them in melted white chocolate, placed them on a baking rack and then drizzled left over royal icing on top. Easy peasy. Rating: solid 5/5 if I do say so myself
Other helpful tools that allowed me to pull off this out-of-this-world celebration:


**This post may contain affiliate links, which could generate a commission when purchasing through links I provide (at zero extra cost to you)**